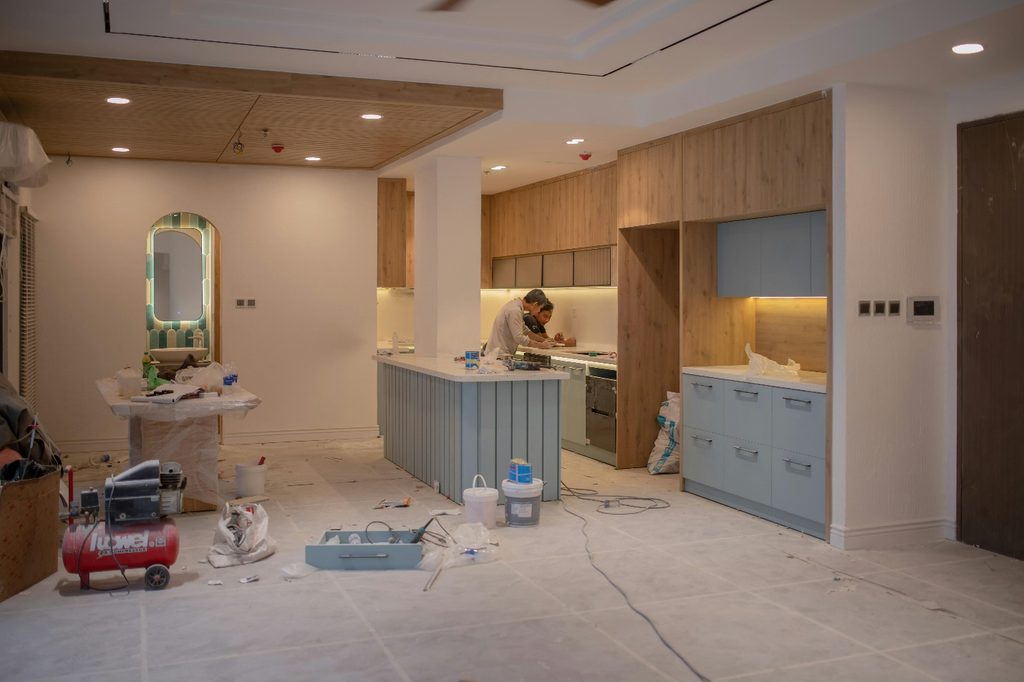
Repainting your cabinetry is a budget-friendly way to enhance the look of your home. New paint has a way of adding a touch of elegance and newness to your cabinets, giving you an aesthetically pleasing room. Have you been considering repainting your cabinetry, but you are not sure if it’s worth the hype? Worry not. This article will outline everything you need to know about cabinet repainting, including a detailed guide to repainting cabinets and their benefits.
The Benefits of Cabinet Repainting
Cabinet repainting has a wide range of benefits. Although it’s something you can do as a DIY project, hiring professional painters guarantees you a job well done due to their expertise, high-quality materials, and attention to detail. The benefits of cabinet repainting include the following:
- Quality and Durability: If you choose to go the professional way, you are guaranteed that the professionals will use high-quality paint that’s going to last long while withstanding wear and tear. However, if it’s a DIY project, you can research to ensure you buy the right paint and tools and learn how to paint flawlessly.
- It’s Cost-Saving: Repainting your cabinets saves you the cost of renovation, replacing cabinets, and labor. You can enhance the aesthetic appeal of your cabinets without breaking the bank.
- Gives Your Home a New Look: Cabinet repainting gives your cabinet a touch of color and gives your home an overall fresh look.
- Customization: There are a variety of colors and latest designs to choose from, which helps with giving your space a personal touch. Additionally, it keeps your home in touch with the latest trends.
Step-By-Step Guide to Kitchen Cabinet Repainting
This guide will help you repaint your kitchen seamlessly:
- Prepare the Room: Set up the room by moving any furniture to create space and spreading a plastic sheet to protect your surfaces from paint spills.
- Remove Doors and Hardware: Remove all the cabinet doors, drawers, knobs, and hinges in preparation to repaint.
- Clean the Cabinets: Clean the cabinets with a soap dish detergent to degrease the surfaces.
- Sand and Dust the Cabinet Surfaces: Use a medium-grit sandpaper (150 grit is suitable) to lightly sand the cabinet surfaces. The medium-grit sandpaper takes down any smooth gloss and creates a roughed up surface for the new paint to stick. Dust the cabinet surfaces or wipe with a cloth to remove any dust.
- Fill and Repair: Patch any holes and cracks using a wood filler. Let the filler dry, then sand it until smooth.
- Apply Primer to Cabinet Surfaces: Use a good brush or roller to apply primer to the surfaces. Let the primer dry completely. I personally love Zinnser 1-2-3 by Bullseye! Comes in a mostly blue can and sticks to virtually EVERYTHING.
- Paint the Cabinets: Apply the first layer of finish coat, let it dry completely, then apply the second layer. You can use either a brush, roller, or sprayer, depending on your desired outcome and budget.
- Reassemble: Let the paint dry then reassemble the doors, hardware, and drawers. You can now enjoy your cabinets.
Final Thoughts
Cabinet repainting is an investment that gives your home a fresh look on a budget. Additionally, it enhances the beauty of your home, guarantees you durability, and saves you the time you would have spent on renovation. While repainting the cabinets by yourself can be a daunting task, it’s something you can achieve by following the right steps. However, you can also hire professional painters if you want to save time and have the best results. These painters in Medicine Hat Alberta are another such company that has done some impressive cabinet refinishing and have pictures online of their work. Finding the right help is key, or setting yourself enough time to follow through with the preparation steps listed above can result in the total transformation you’re looking for.